You can create a custom profiler by adding the required tags, regex entries, and
attaching whitelist or blacklist files to specific columns within your tables.
On the Profilers page, click Tag Rules.
On the Tag Rules tab, click New
to create a new profiler tag rule.
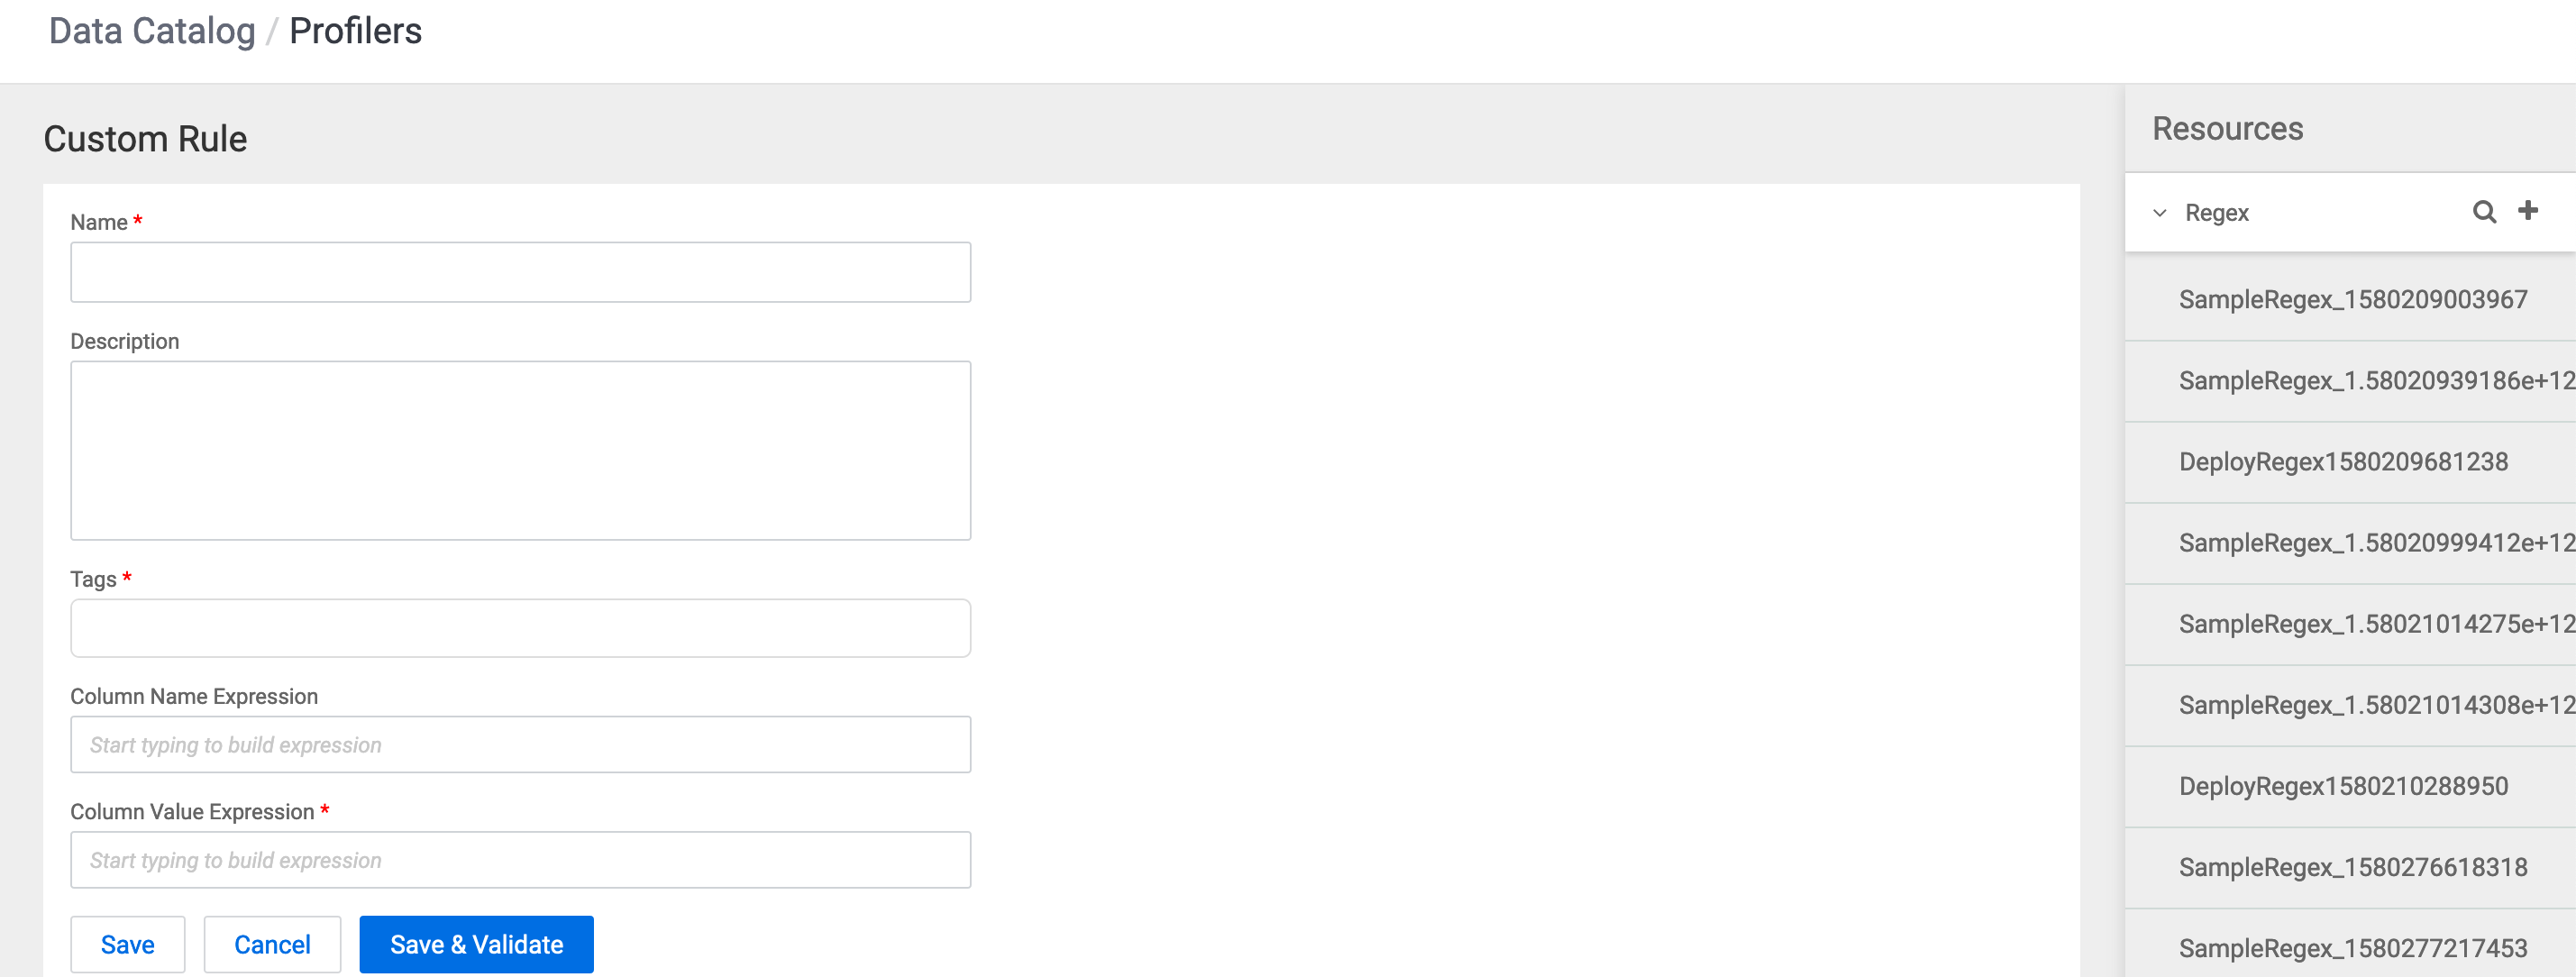
Enter the name of the new custom profiler tag rule.
Enter the description for the custom tag rule.
Select the Tags. You can select tags from the drop down list and or enter a new value to create a new tag.
New tags that you create here are added with a dp_ prefix in the list of Atlas tags. For example, if you add a new tag called credit_card, this tag will be added as dp_credit_card in Atlas.
Enter the rule for the column name. As you enter the values, regex name and resource names are auto populated. Select the column that is needed for your custom profiler.
Enter the column value for the DSL.
Based on your entry, Data Catalog auto populates values from the
entries already available in the Resources tab. You can use a combination of
regex entries and whitelist or blacklist files and other behaviors. For more
information about behaviors, see DSL Grammar.
Click Save and Validate.
In the validation pop up window that appears, enter data to validate your
custom profiler tag rule. Make sure you separate each data entry with a new
line.
Click Save to create a tag rule and validate and deploy it later.