Running an Experiment using MLflow
This topic walks you through a simple example to help you get started with Experiments in Cloudera Machine Learning.
Best practice: It’s useful to display two windows while creating runs for your experiments: one window displays the Experiments tab and another displays the MLflow Session.
- From your Project window, click New Experiment and create a new experiment. Keep this window open to return to after you run your new session.
- From your Project window, click New Session.
- Create a new session using ML Runtimes. Experiment runs cannot be created from sessions using Legacy Engine.
- In your Session window, import MLflow by running the following code:
import mlflowThe ML Flow client library is installed by default, but you must import it for each session. - Start a run and then specify the MLflow parameters, metrics, models and artifacts to be
logged. You can enter the code in the command prompt or create a project. See CML
Experiment Tracking through MLflow API for a list of functions you can use. For example:
mlflow.set_experiment(<experiment_name>)
mlflow.start_run()
mlflow.log_param("input", 5)
mlflow.log_metric("score", 100)
with open("data/features.txt", 'w') as f:
    f.write(features)
# Writes all files in "data" to root artifact_uri/states
mlflow.log_artifacts("data", artifact_path="states")
## Artifacts are stored in project directory under
/home/cdsw/.experiments/<experiment_id>/<run_id>/artifacts
mlflow.end_run()<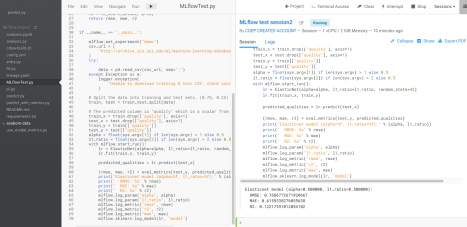
For information on using editors, see Using Editors for ML Runtimes.
- Continue creating runs and tracking parameters, metrics, models, and artifacts as needed.
- To view your run information, display the Experiments window and
select your experiment name. CML displays the Runs table.
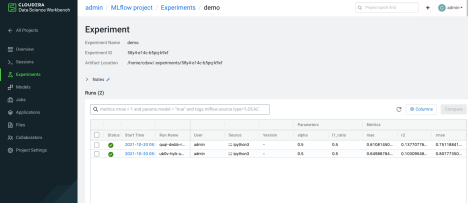
- Click the Refresh button on the Experiments window to display recently created runs
- You can customize the Run table by clicking Columns, and selecting the columns you want to display.